Qi Coil Mount Assembly InstructionsUpdated 3 months ago
Parts Included
- 2 mounting arms (black rods with joints)
- 2 Qi Resonance Bed clamps
- 2 ball-head adapters
- 2 round base plates/disc attachments
- 2 short extension posts
- Various screws (pre-attached to components)
Step-by-Step Assembly
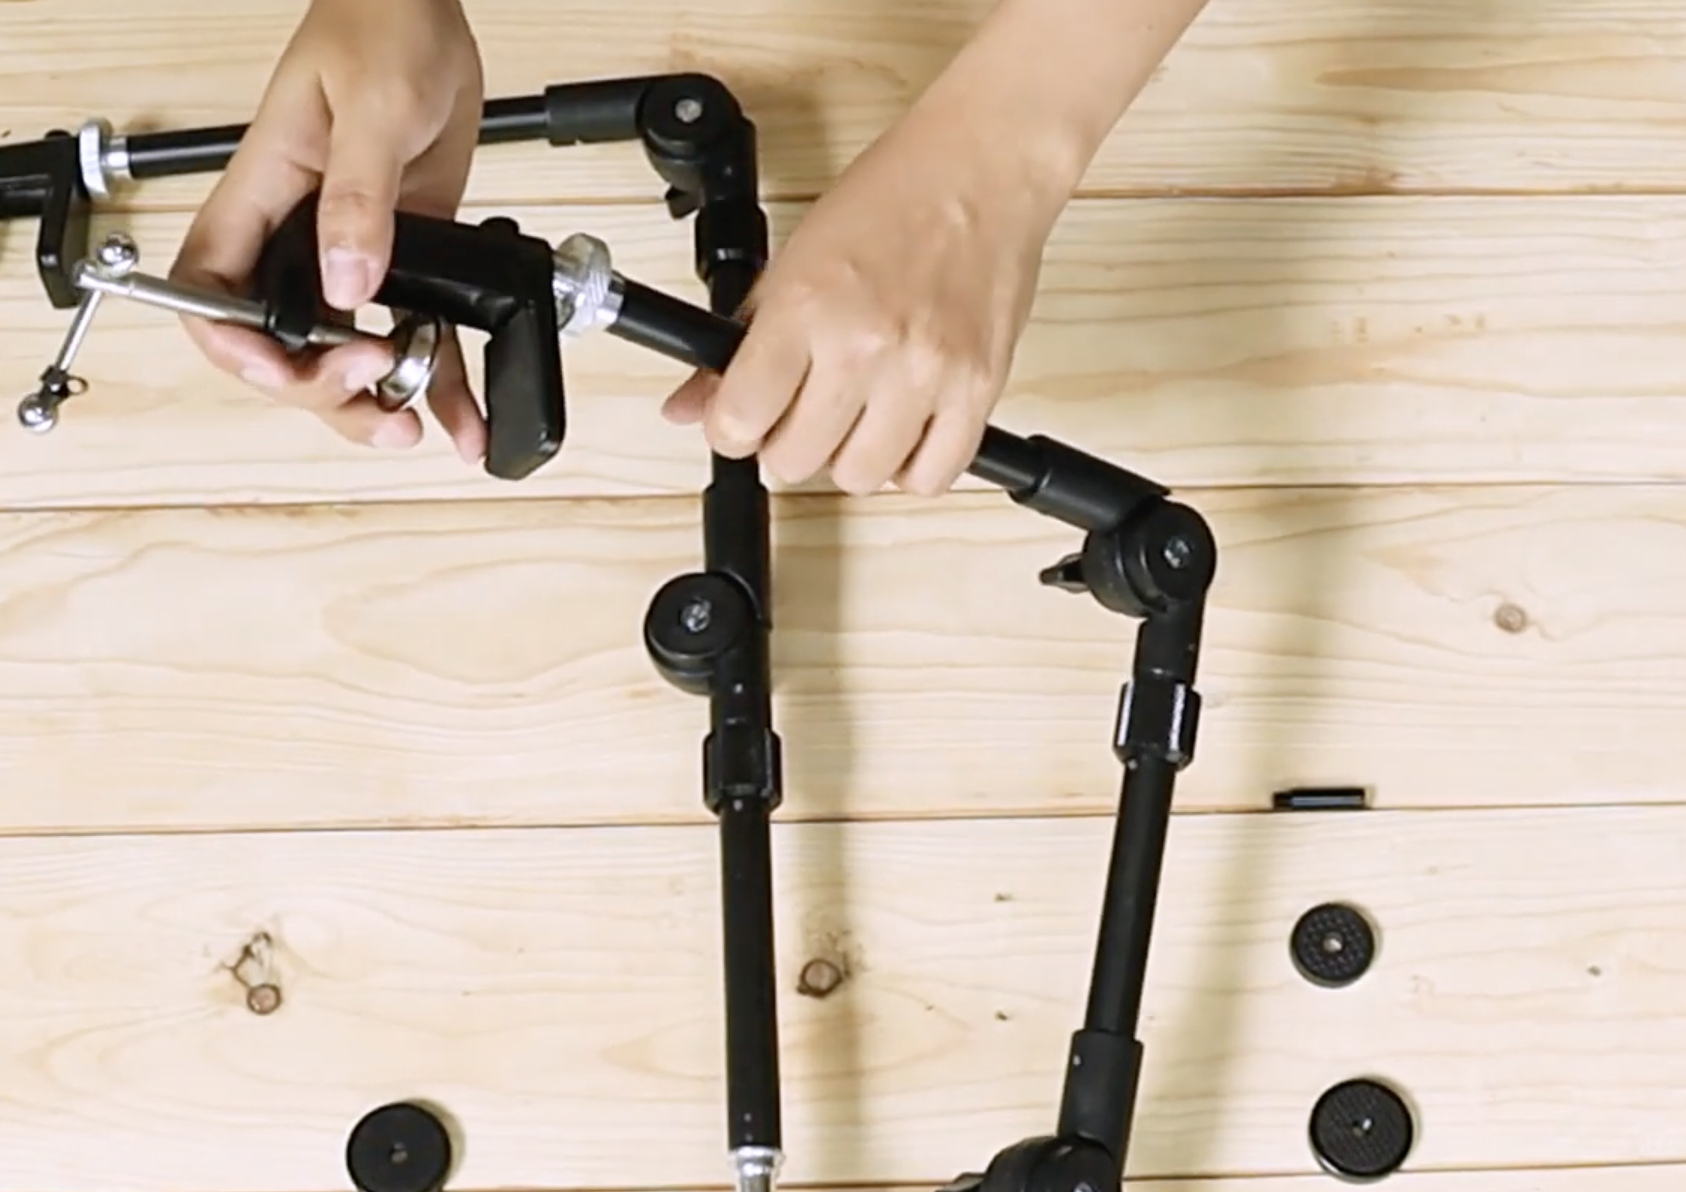
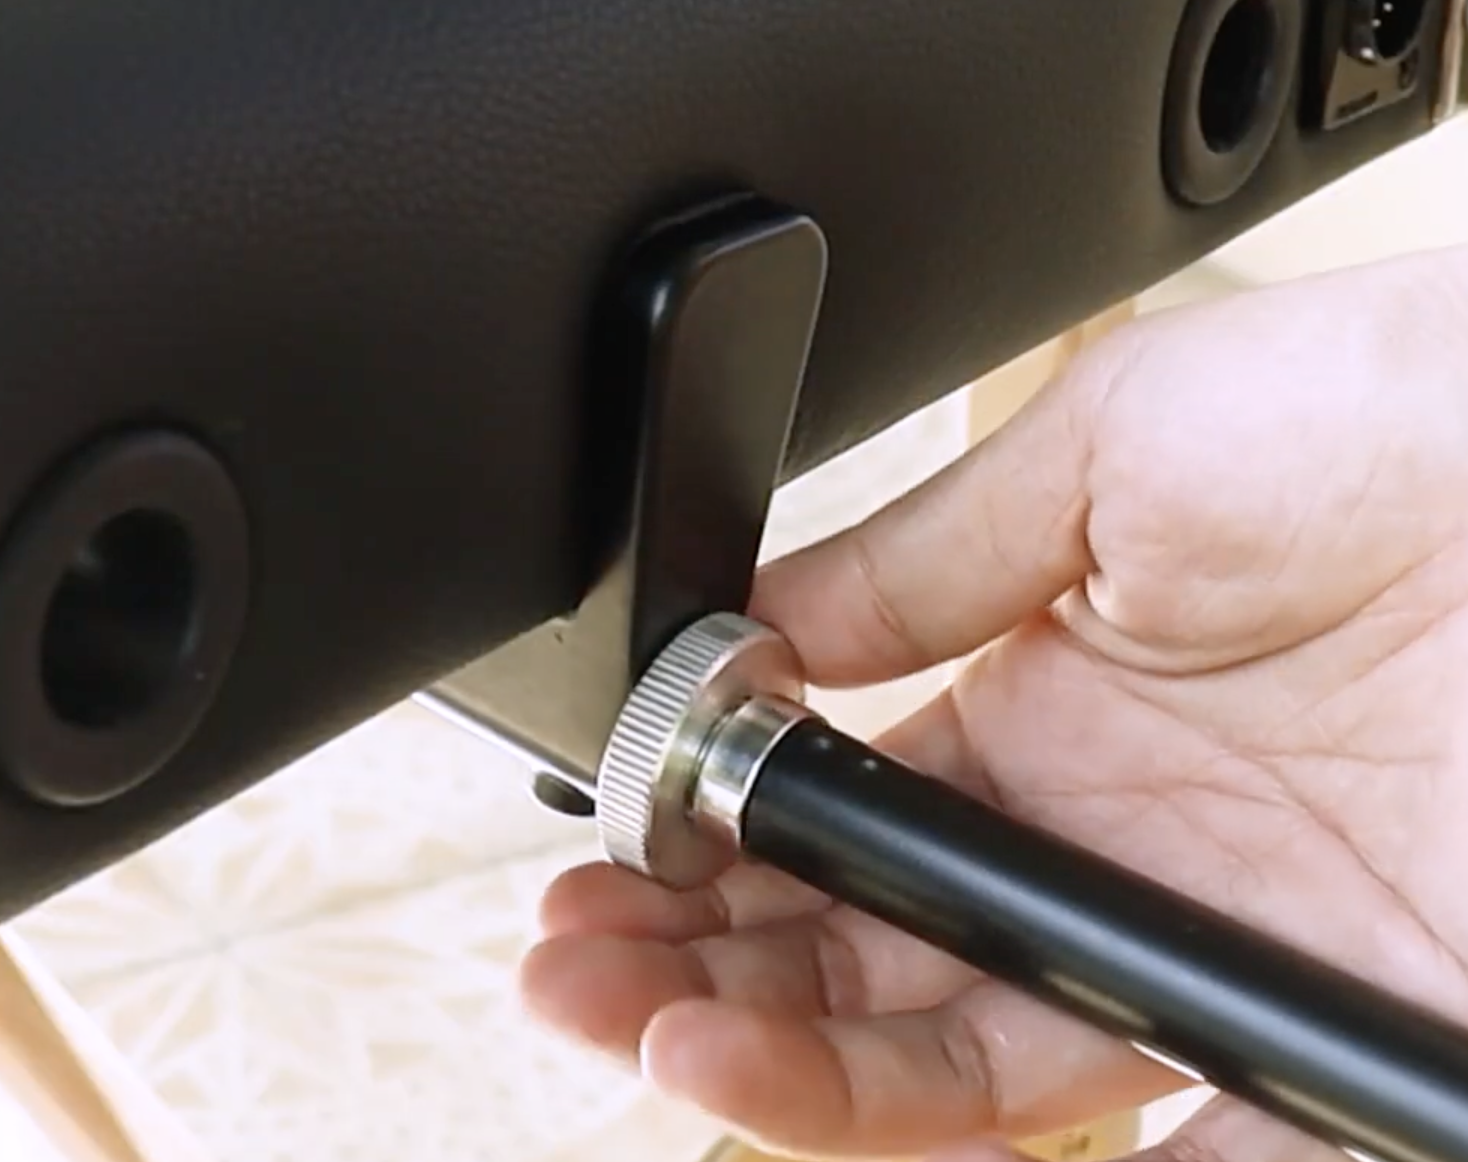
1. Assemble the Mounting Arm
Take one mounting arm (long black rod).
Loosen the clamp in the middle and bend the arm to a 90° (L-shape) position. Tighten the clamp to lock it in place.
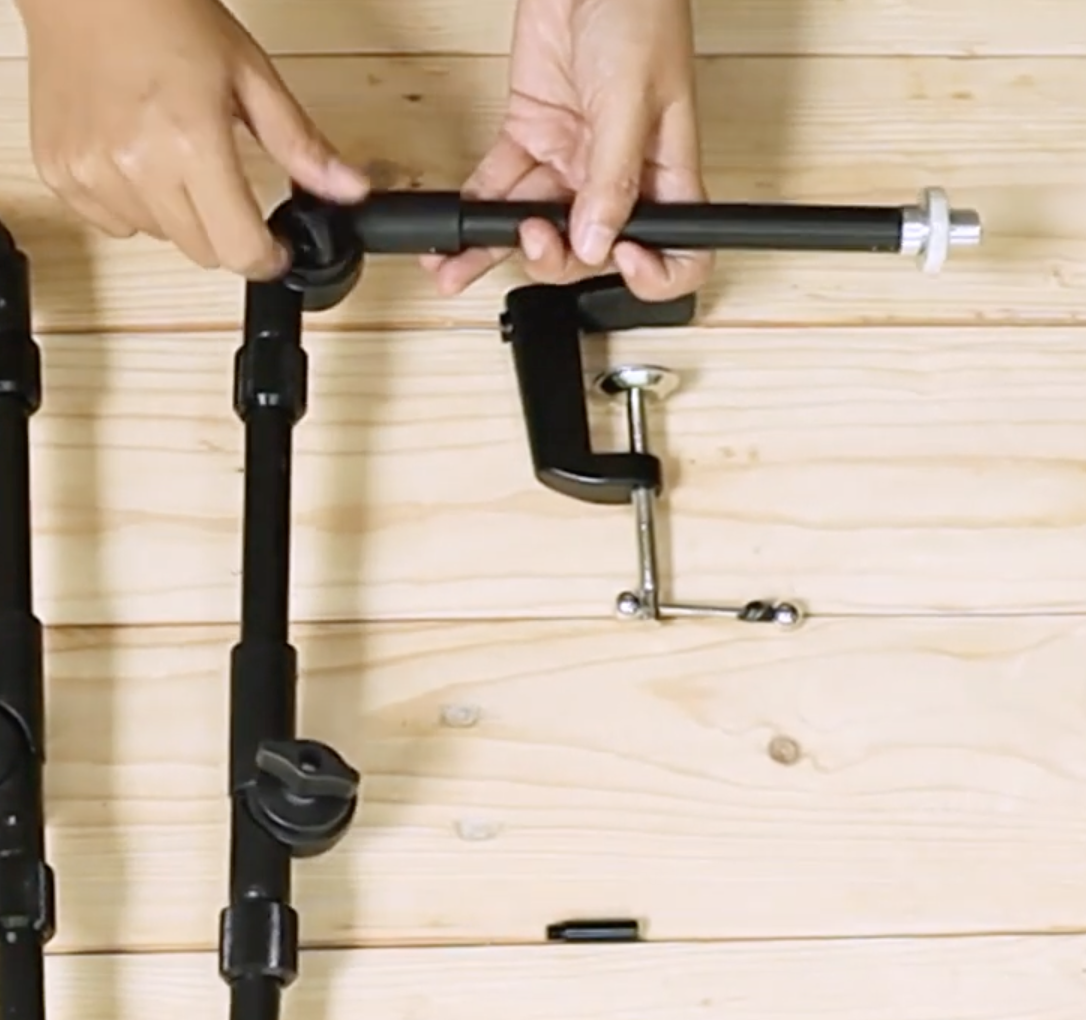
At the bottom of the rod, locate the threaded connector and screw it into the top of the Qi Resonance Bed clamp.
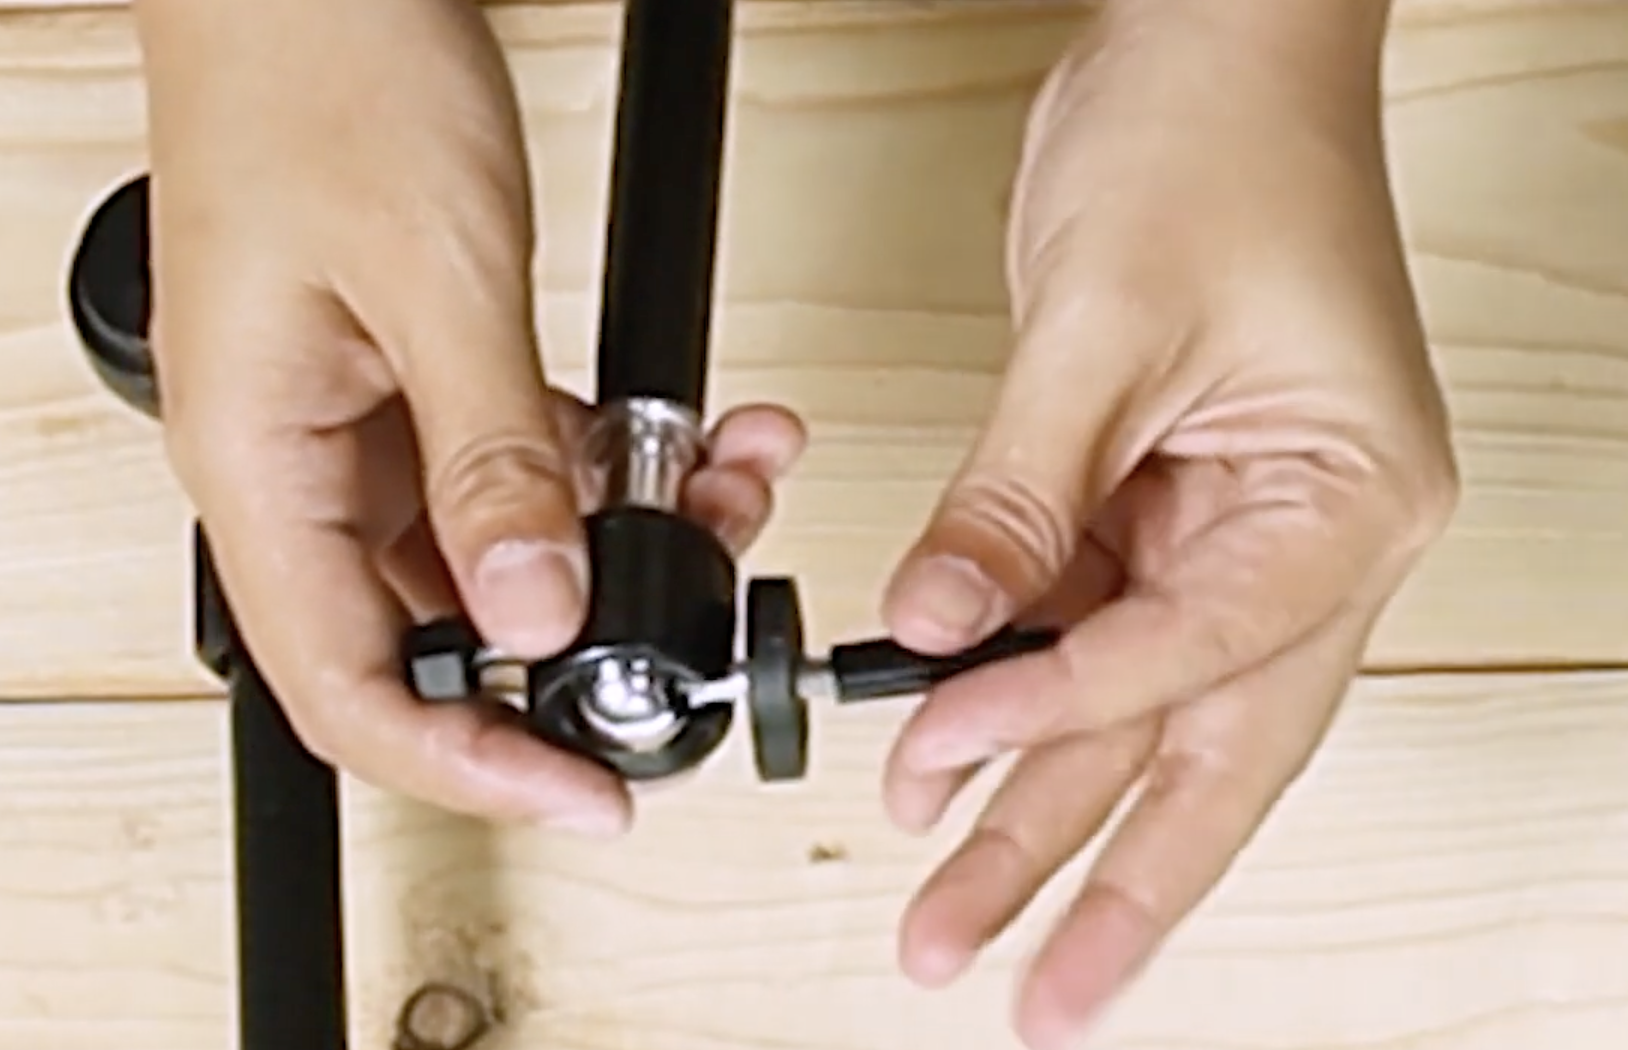
2. Attach the Ball-Head Adapter
Take a ball-head adapter (round swivel piece) and screw it onto the top of the mounting arm.
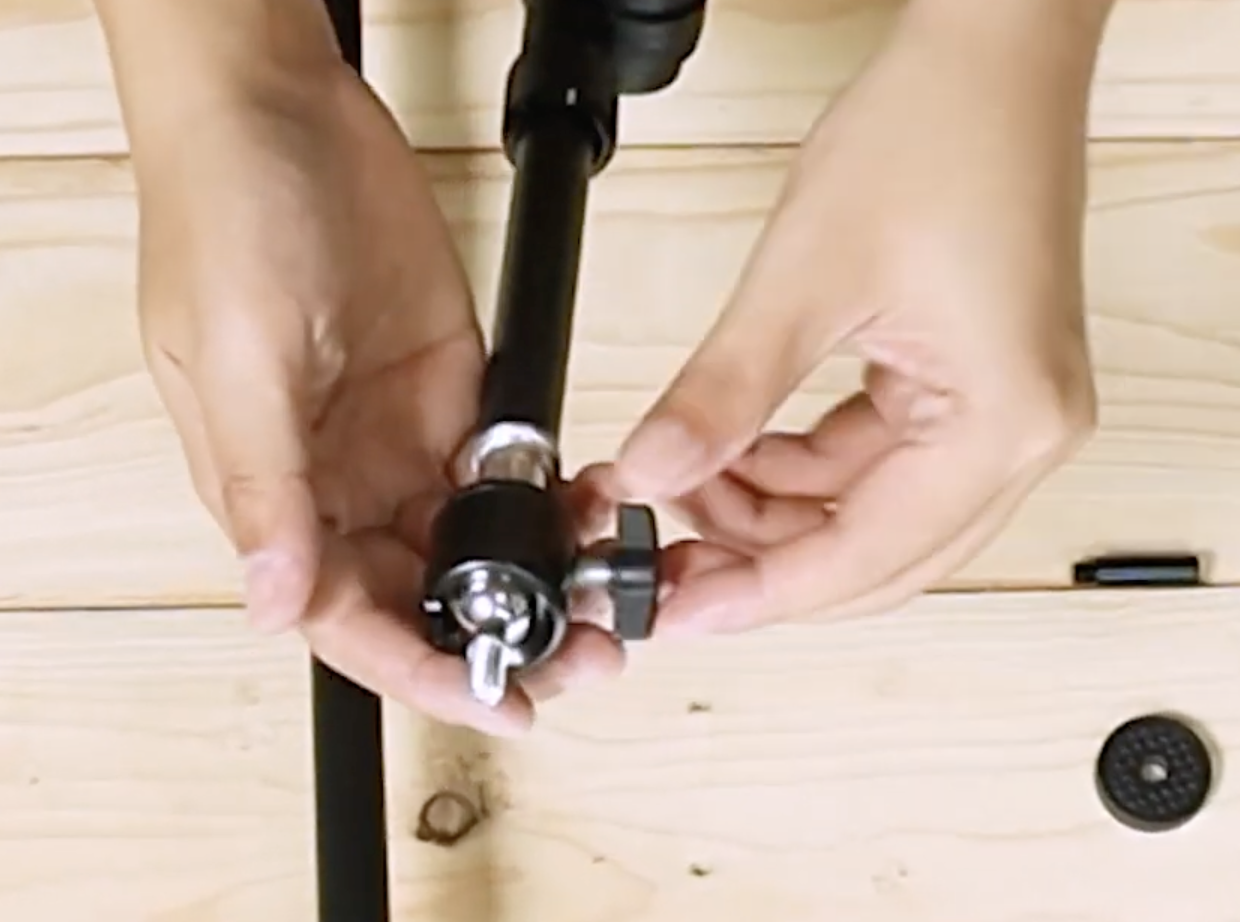
Loosen the ball-head’s adjustment screw, pivot the adapter to a 90° angle, then tighten the screw to lock it in place.
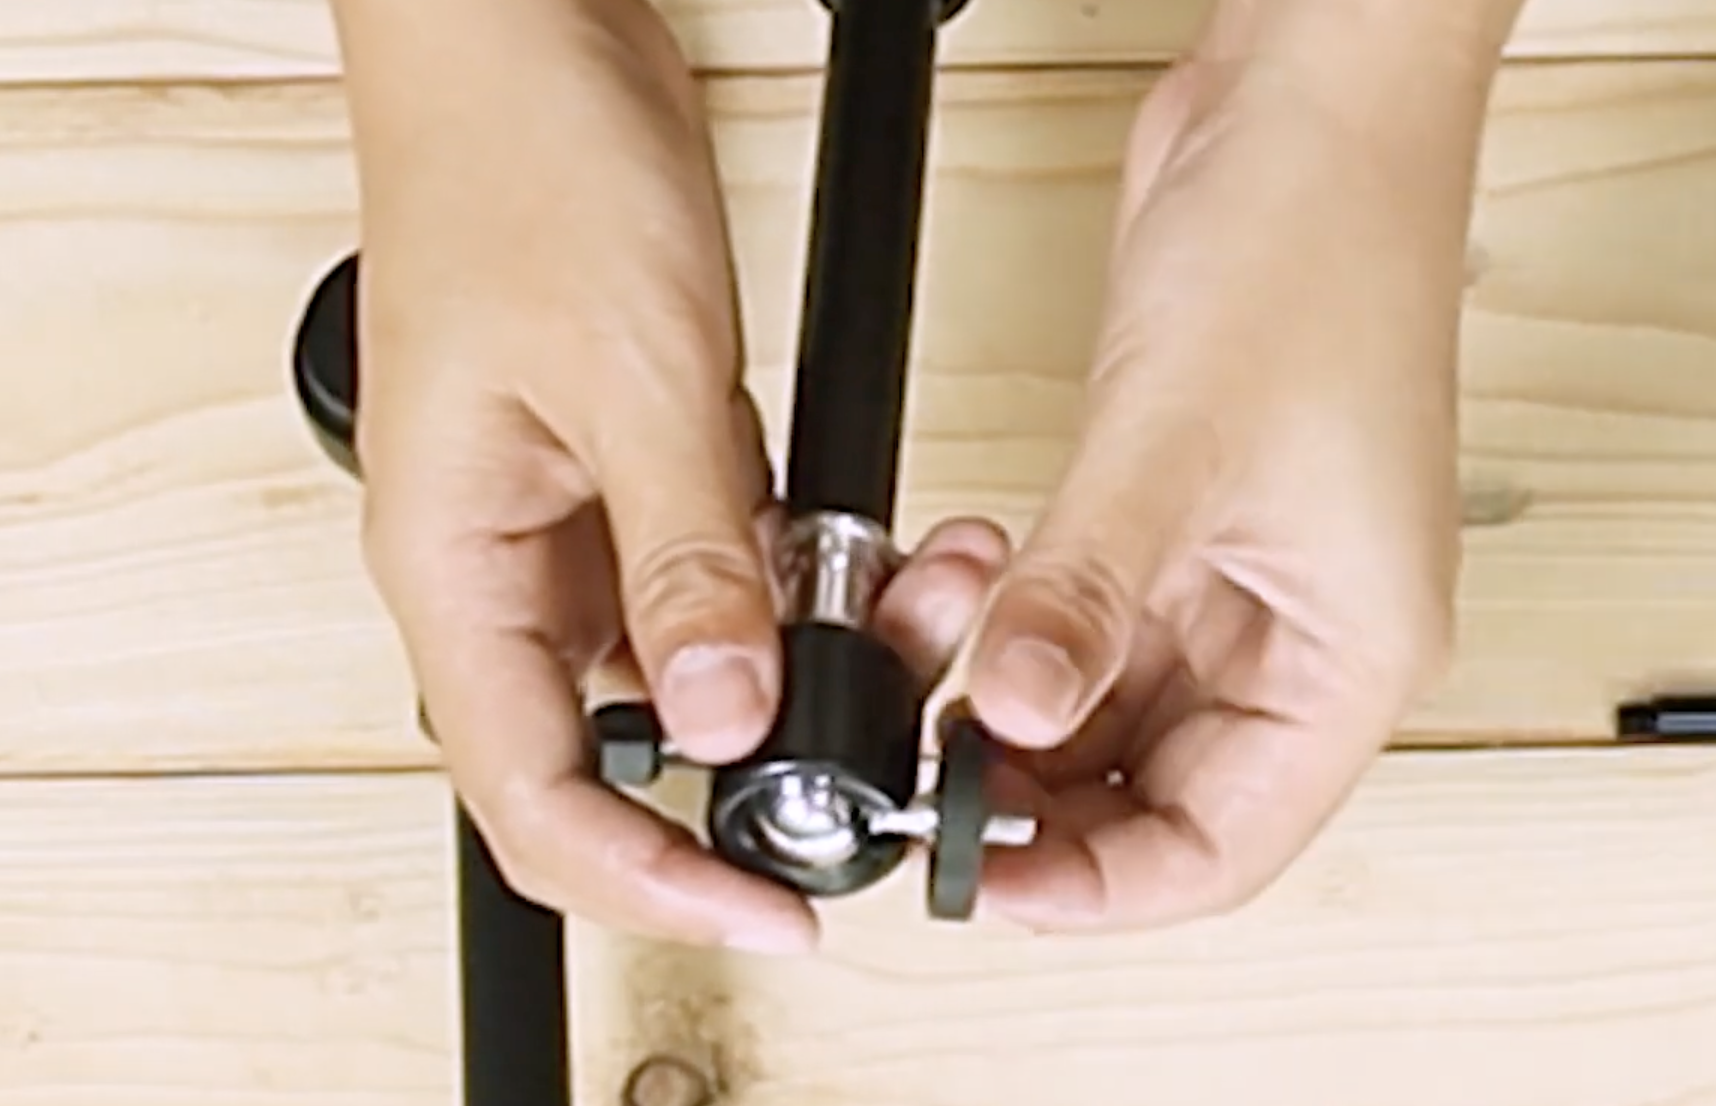
Screw the short extension post onto the end of the ball-head adapter.
3. Insert the Qi Coil
Slide the Qi Coil into the short extension post attached to the ball-head adapter.
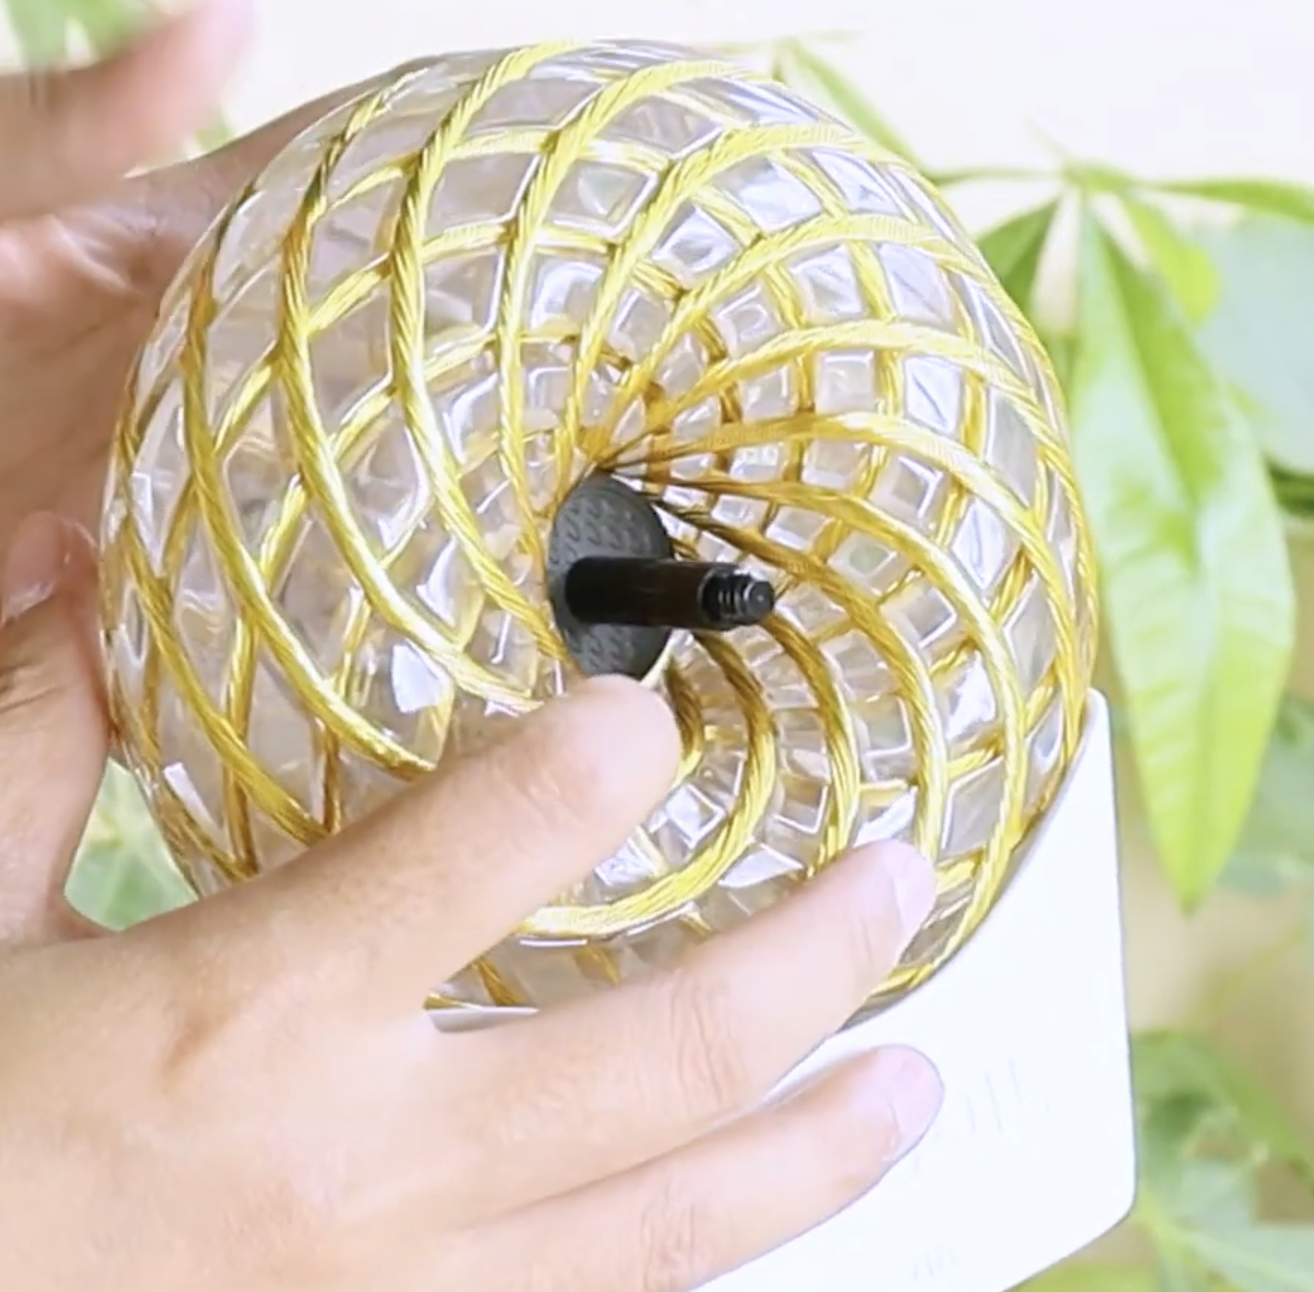
4. Secure the Qi Coil with the Round Base Plate
Attach the round base plate/disc to hold the Qi Coil firmly in place.

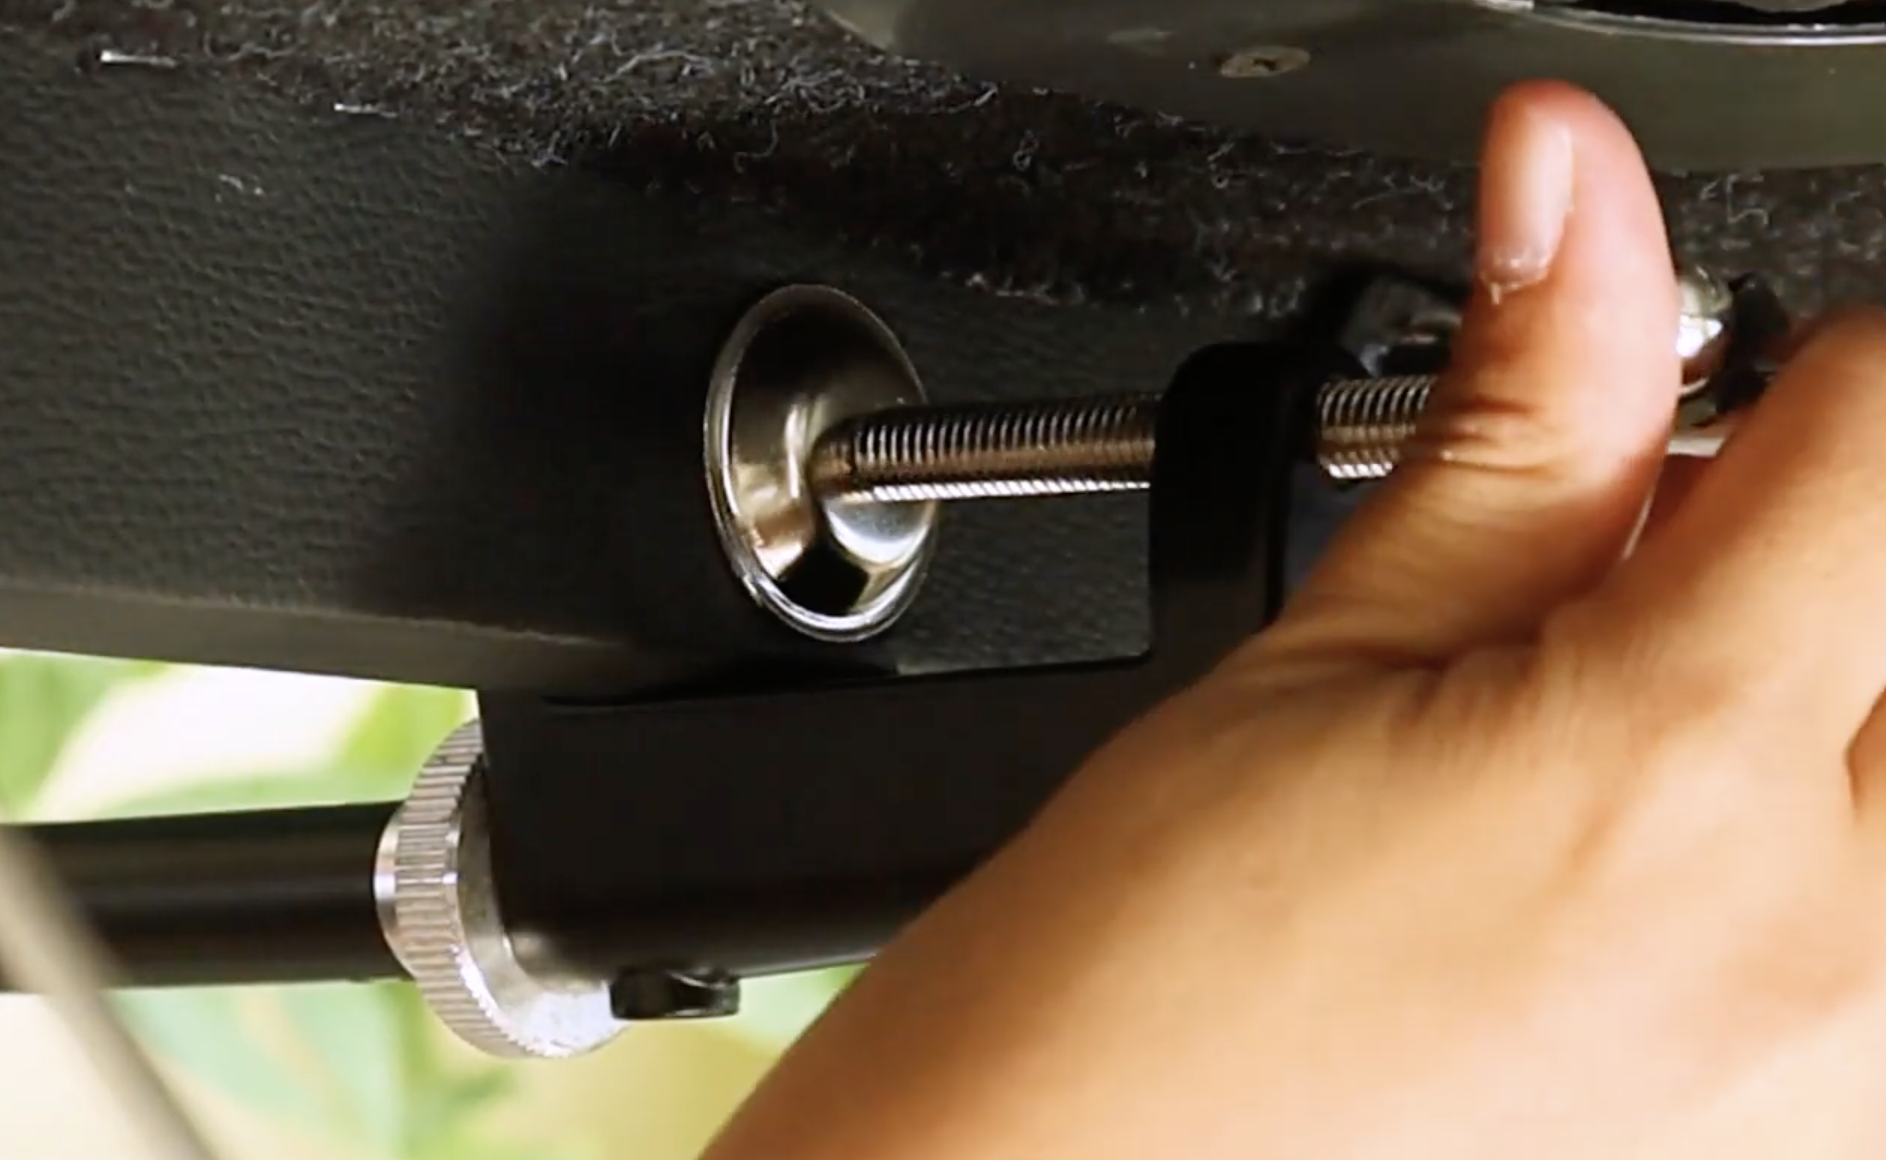
5. Attach the Bed Clamp
Position the Qi Resonance Bed clamp on both the top and bottom middle sections of the bed.
Tighten both ends to secure the arm, ensuring it is firmly held and does not wobble.
Tip: Watch this tutorial for a visual guide. Skip to 5:25 for the assembly section: YouTube Video.